Converter
HOME - PRODUCTS - Converter
UVC to HDMI Instruction (UVC2.0)

UVC to HDMI Instruction (UVC2.0)

UVC2.0 to HDMI Output: Converts UVC video into an HDMI signal for direct output to a monitor or video capture device. Mouse-Controlled Image Adjustment: Allows camera image parameters to be adjusted with a mouse for convenient operation. Dual USB P

Product Type : UVC to HDMI Converter

:

Function : Converts UVC video into an HDMI signal for monitor output

:

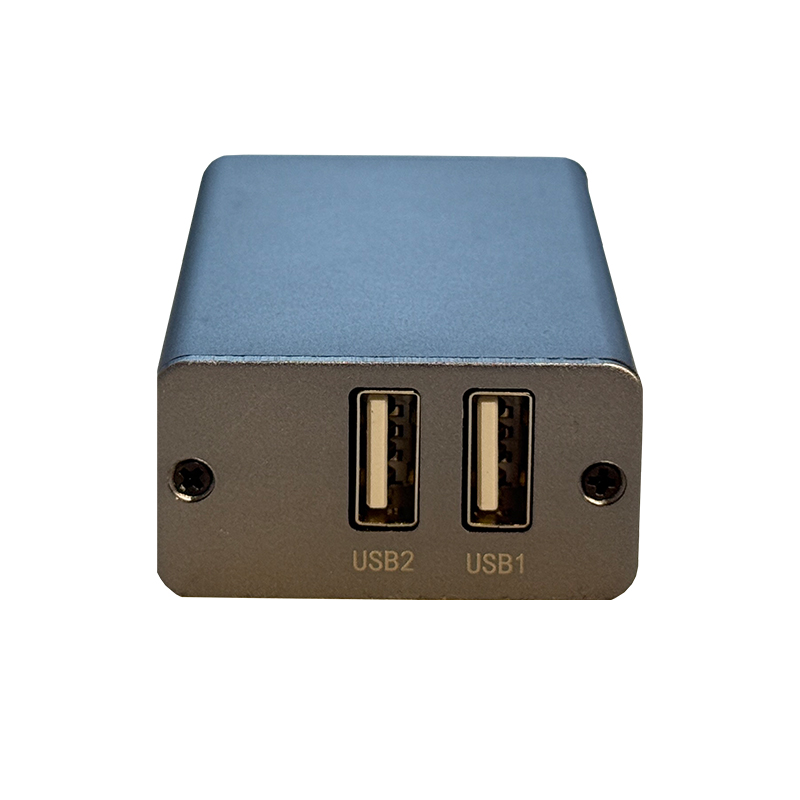
Input Interface : USB (USB1 / USB2) — for UVC camera or mouse connection

:

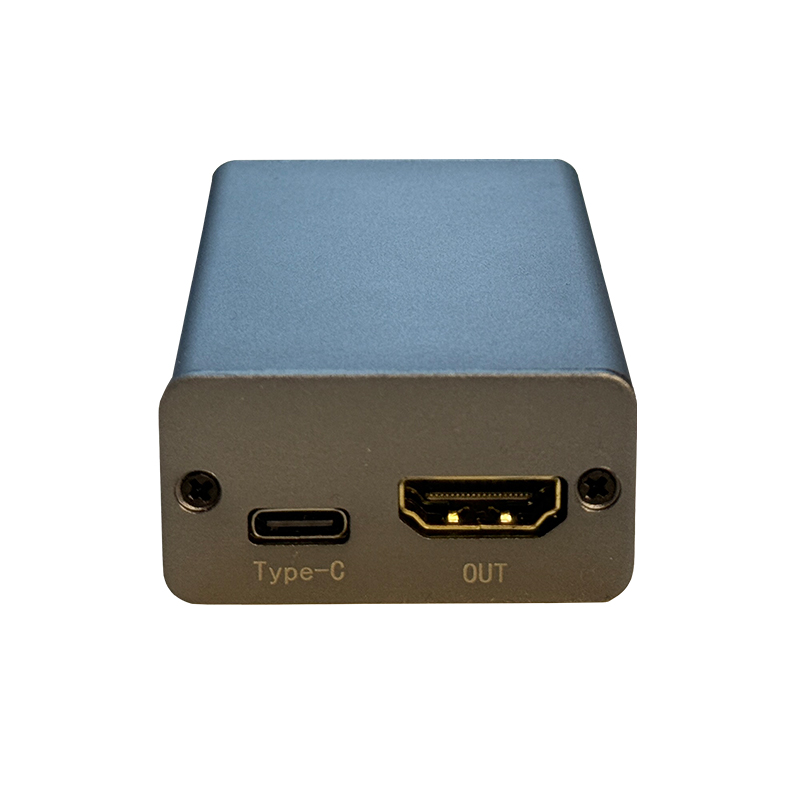
Output Interface : HDMI OUT — connects to a monitor or video capture device

:

Power Interface : Type-C Power Port (port ①) — requires external power supply

:

Control Method : Mouse — used to adjust camera image parameters

:

Supported Devices : UVC camera, monitor, video capture device, mouse

:

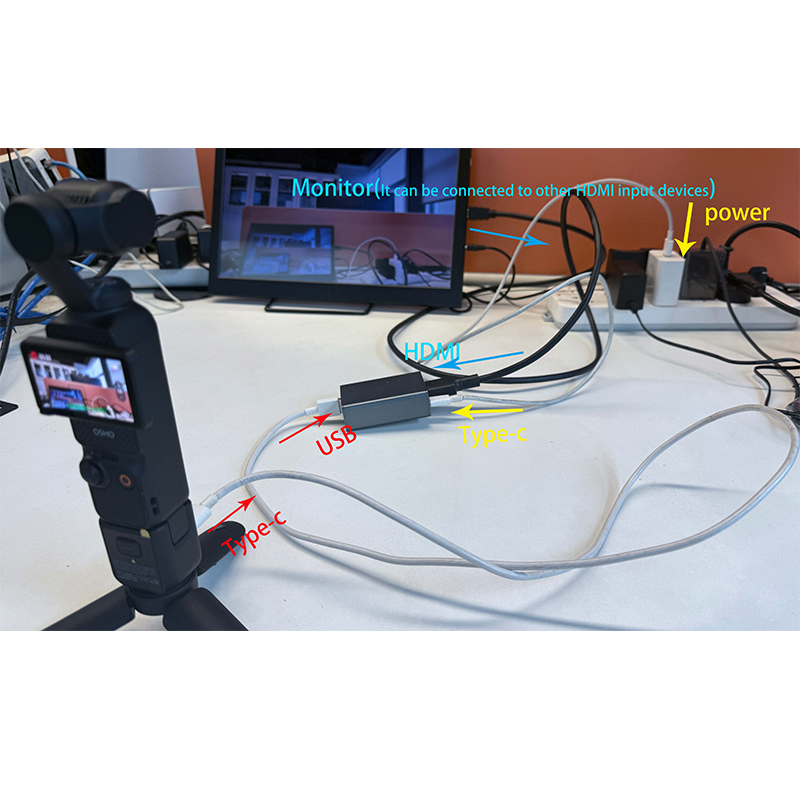
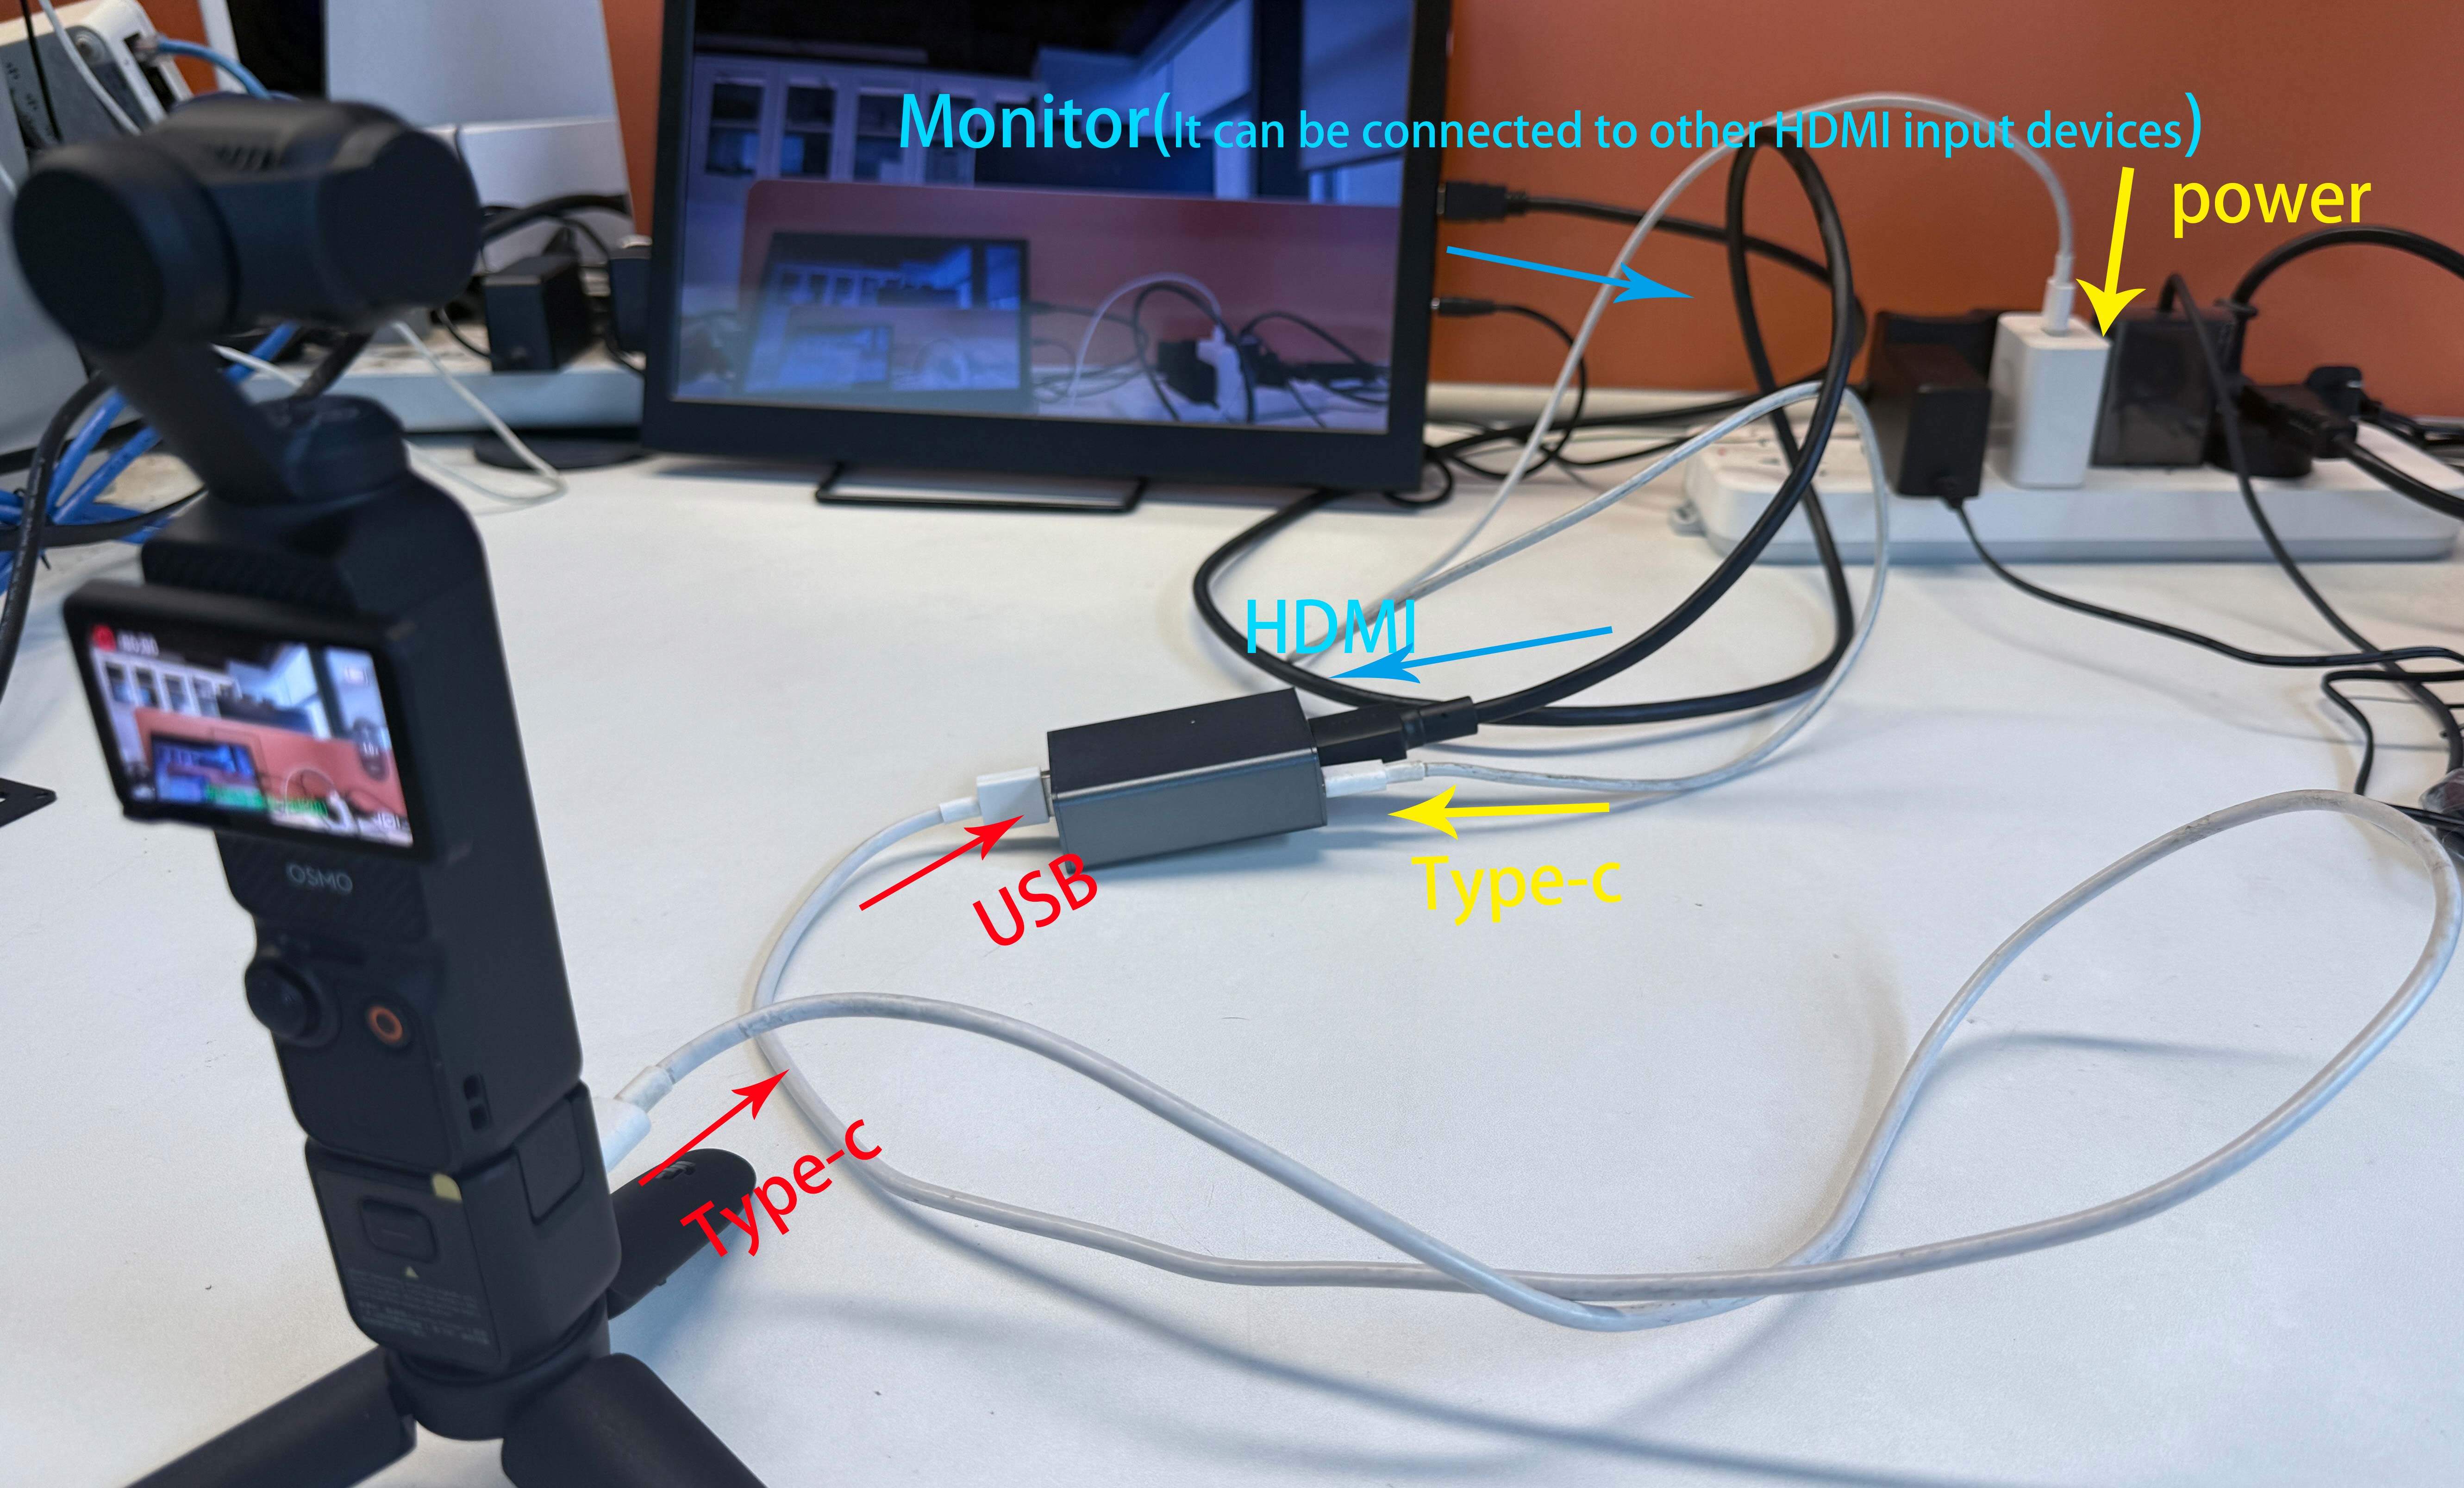
Connection Method : USB camera → port ③ or ④; HDMI cable → port ② → monitor/capture device; Type-C cable → port ① for power

:

Indicator Light : Blue light flashing = system booted successfully; No light = system malfunction

:

Included Accessories : Data cable (provided in kit)

:

Common Issues : "No Signal" prompt, black screen on display/capture card, persistent black screen

:

Troubleshooting : Verify data cable (use provided cable); check Type-C power; connect HDMI directly to display or HDMI IN port (avoid HDMI OUT); check indicator light

:

System Status Indication : Blue light flashing (normal boot) / No light (malfunction — contact customer support)

WhatsApp: +86 15521003315
DESCRIPTION FEATURES
  1. Interface


The UVC to HDMI can convert the UVC video into an HDMI signal and connect it to the monitor output, and you can use the mouse to adjust the camera image parameters.

  1. Use

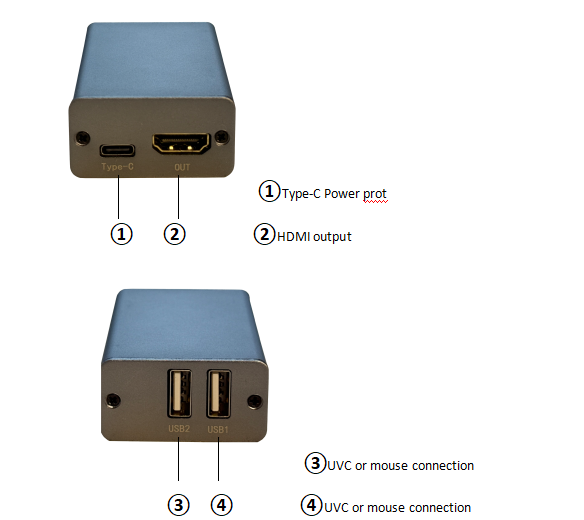
Insert the USB plug of the UVC camera into port ③ or ④, connect the HDMI cable to port ②, and attach the other end of the HDMI cable to a monitor or other video capture device. Plug the Type-C cable into port ① and supply power to the Type-C cable.

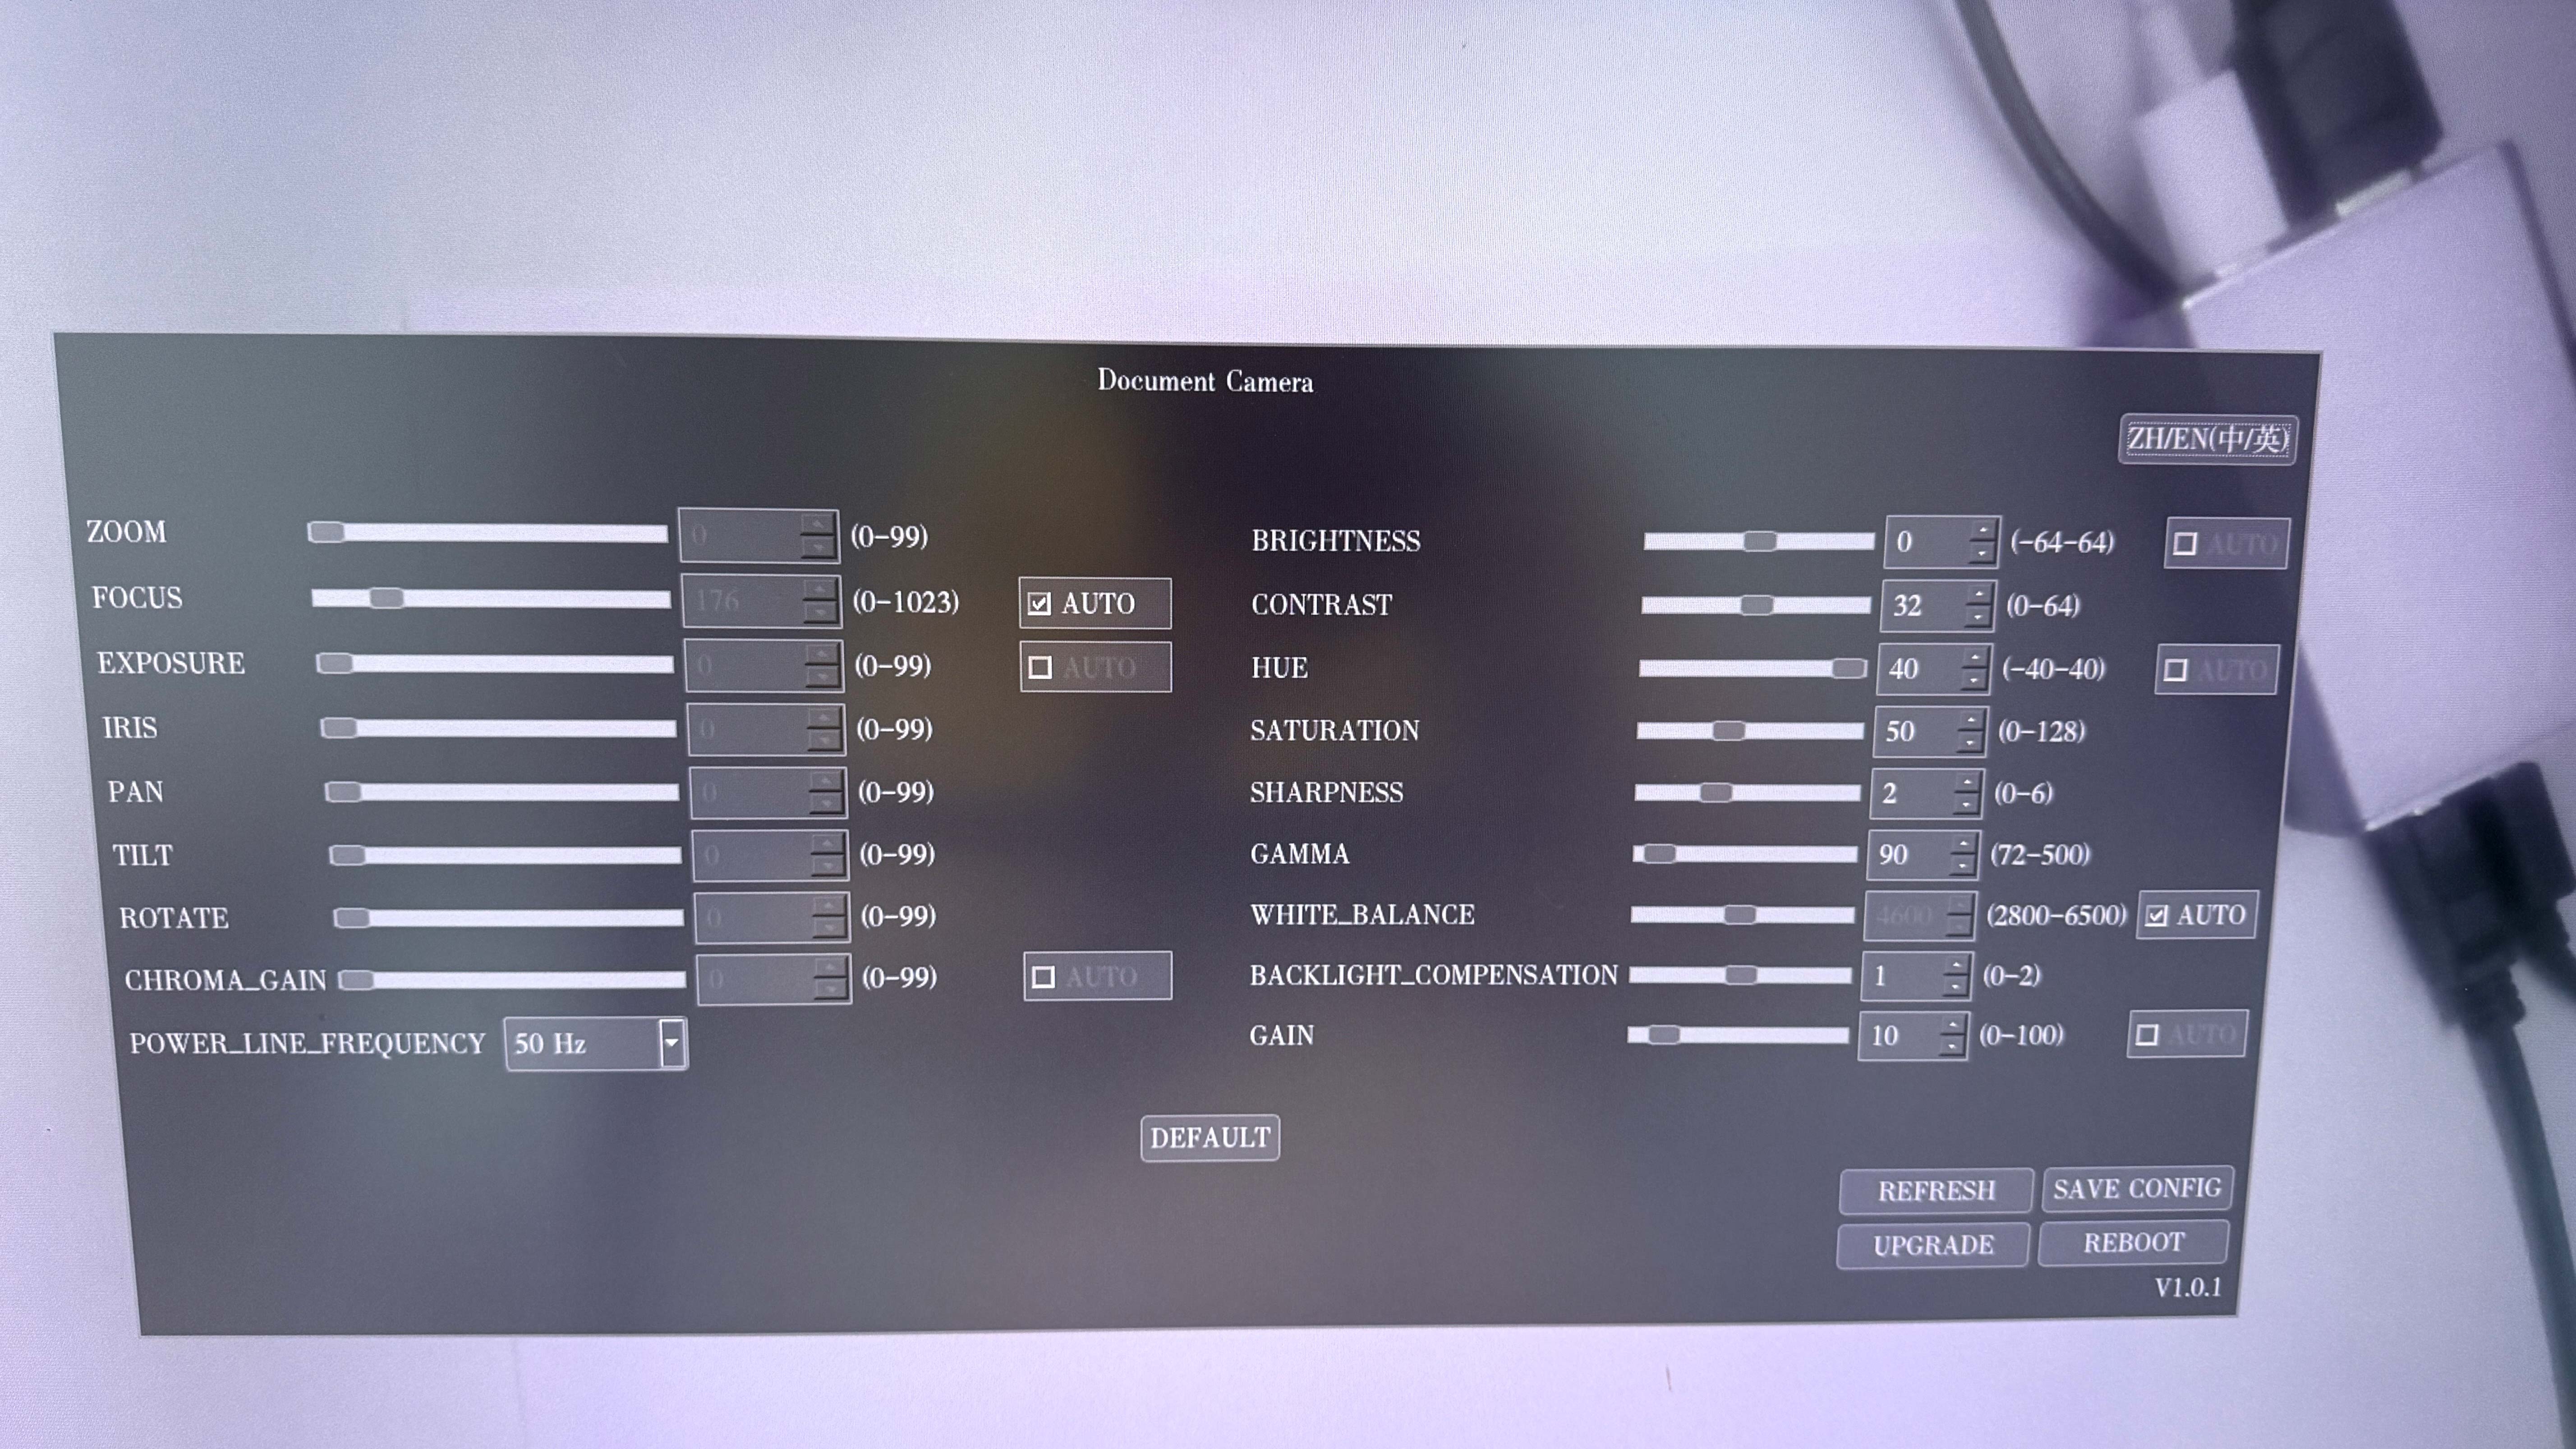
If you need to configure the camera settings, connect a mouse to USB port ③ or ④. A mouse cursor will appear on the display, allowing you to adjust the parameters for cameras that support configuration.

Troubleshooting Guide:

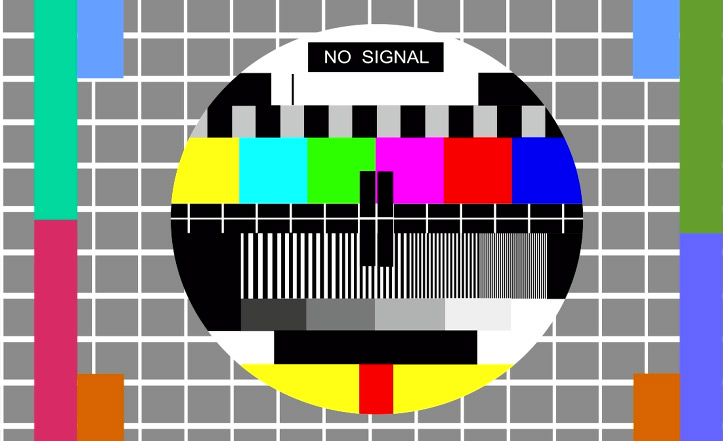
  1. Spherical "No Signal" Prompt:
    • Indicates the video source is not being captured.
    • Verify if the data cable between PK3 and our device is used.
    • If the customer is using their own cable, replace it with the one provided in our kit.


  1. Black Screen on Display/Capture Card:
    • Check if the Type-C port is powered.
    • If the screen remains black after power connection:
      1. Ensure the HDMI cable is not connected to the computer host; connect it directly to the computer display or the HDMI IN port of the capture card (avoid HDMI OUT).
  2. Persistent Black Screen (Non-Resolving):
    • Disconnect all cables except the Type-C cable.
    • Observe the indicator light:
      1. Blue light flashing: System has booted successfully.
      2. No light: System malfunction.
    • Contact customer support for assistance in either case.
  • Product Type: UVC to HDMI Converter

  • Function: Converts UVC video into an HDMI signal for monitor output

  • Input Interface: USB (USB1 / USB2) — for UVC camera or mouse connection

  • Output Interface: HDMI OUT — connects to a monitor or video capture device

  • Power Interface: Type-C Power Port (port ①) — requires external power supply

  • Control Method: Mouse — used to adjust camera image parameters

  • Supported Devices: UVC camera, monitor, video capture device, mouse

  • Connection Method: USB camera → port ③ or ④; HDMI cable → port ② → monitor/capture device; Type-C cable → port ① for power

  • Indicator Light: Blue light flashing = system booted successfully; No light = system malfunction

  • Included Accessories: Data cable (provided in kit)

  • Common Issues: "No Signal" prompt, black screen on display/capture card, persistent black screen

  • Troubleshooting: Verify data cable (use provided cable); check Type-C power; connect HDMI directly to display or HDMI IN port (avoid HDMI OUT); check indicator light

  • System Status Indication: Blue light flashing (normal boot) / No light (malfunction — contact customer support)

Leave a Message

Upload 2D/3D drawings

Upload Your Files or Contact [email protected] to Get Instant Quote (Please attach 2D CAD drawings and 3D CAD models in any format including STEP, IGES, DWG, PDF, STL, ZIP, etc.).

Upload files
max file size: 20MB
Send an Email
WhatsApp
loading